Exclusive: Fujifilm shares tips for high-resolution inkjet printer development expertise amassed through commercialization of the FUJIFILM JET PRESS (also commercially available as J PRESS in the U.S.) 1,200 x 1,200 dpi, single-pass inkjet printer.
Summary of the article
- The first step in image correction is proper image inspection.
- Proper image inspection requires high-performance inspection equipment.
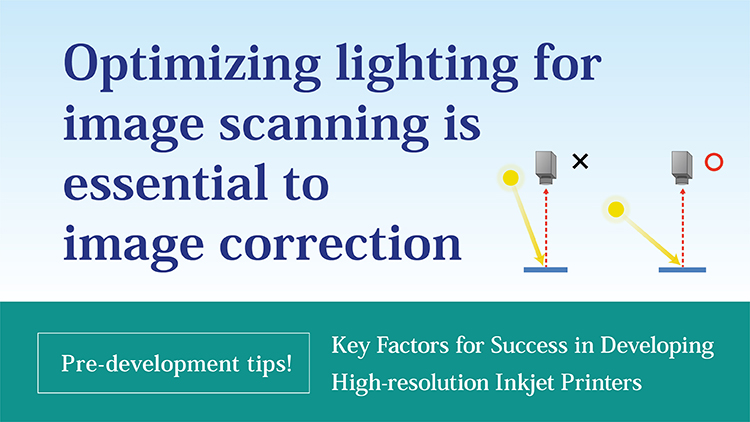
- Optimized illumination in the image scanning device is key for its high performance.
Maintaining initial image quality for as long as possible and increasing printer operating rates are key challenges to ensuring optimal satisfaction with inkjet printer use.
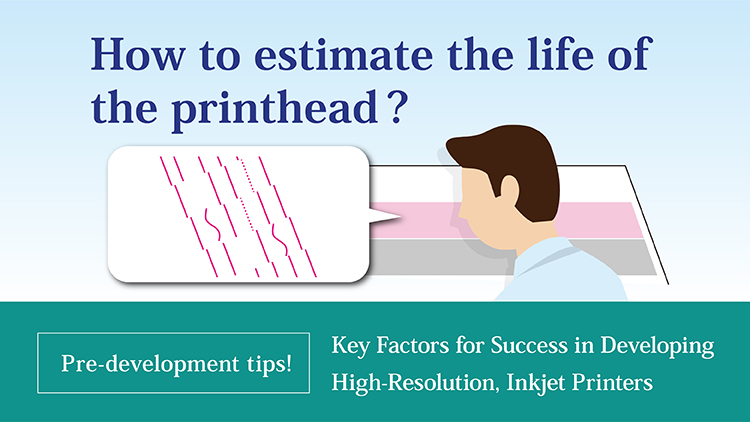
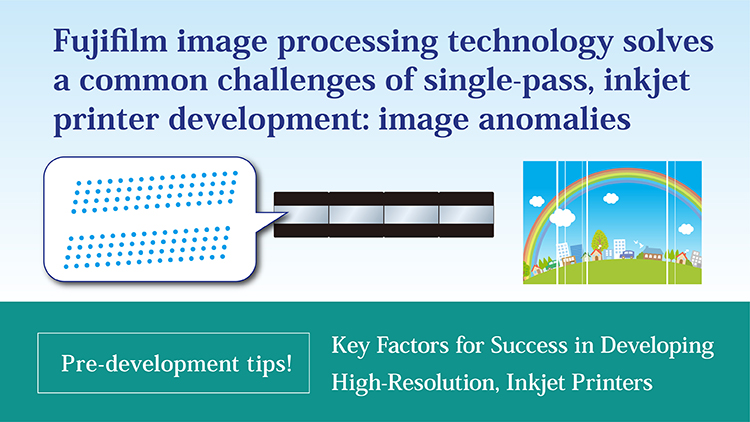
High-resolution, single-pass inkjet printers may have hundreds of thousands of nozzles. When configured for photo-quality printing, degradation of the impact position of just one nozzle during printing can result in streaks and poor image quality.
In order to deal with this problem and ensure high image quality during development of the FUJIFILM JET PRESS, the Fujifilm team spent much time and effort building image correction technologies. Based on this experience, in this edition we introduce the three key steps required to perform highly accurate image correction, as well as discuss the issue of lighting optimization for the image scanning system.

Effective image correction requires three key steps
To perform stable, high-quality image correction, the following three steps are required:
- Identify the state of the print image
- Calculate the correction factor from inspection of the image produced
- Adjust the calibration to the optimal level
If even one of these steps is not fulfilled, the desired level of image correction cannot be obtained.
The first step is establishing an appropriate image inspection system
It is critical to correctly and quantitatively identify the sta te of the print image. In other words, an appropriate image inspection system is essential. The image inspection referred to here is defined as scanning the print image via a scanner, and inspecting the image to evaluate the state of the printer.
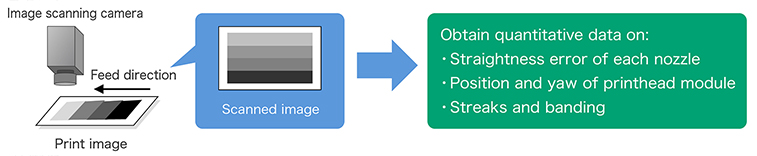
The following actions are required to achieve appropriate image inspection:
- Obtain a high-quality, stable scanned image
- Using the scanned image, correctly identify the state of the printer
- Consider the printing conditions, such as the substrate and ink in the process
But did you know that optimizing illumination in the image scan ning device is also key?